
Last updated August 25, 2026
Free on-site gate assessment - hinges, posts, and your LiftMaster or Nice gate operator checked before anything is quoted
The assessment is free and the quote is the invoice.
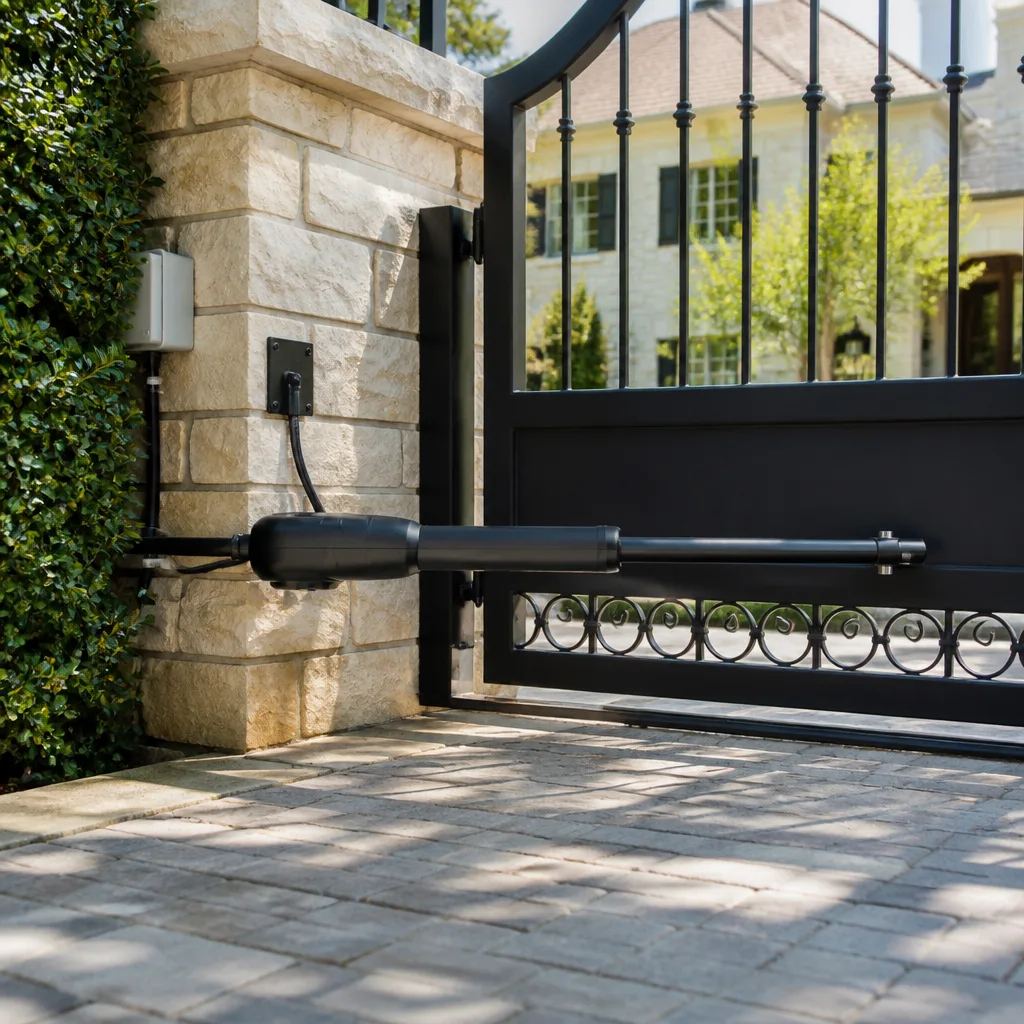
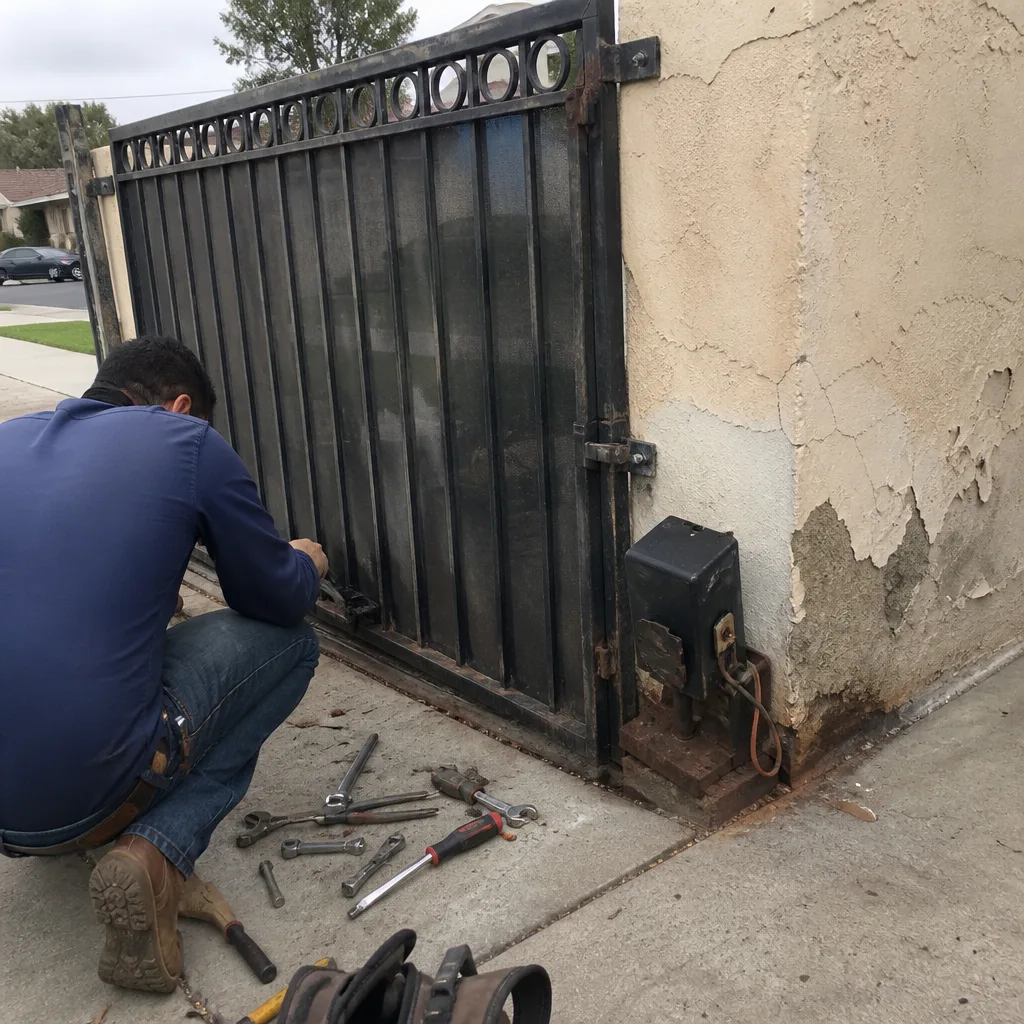 Before
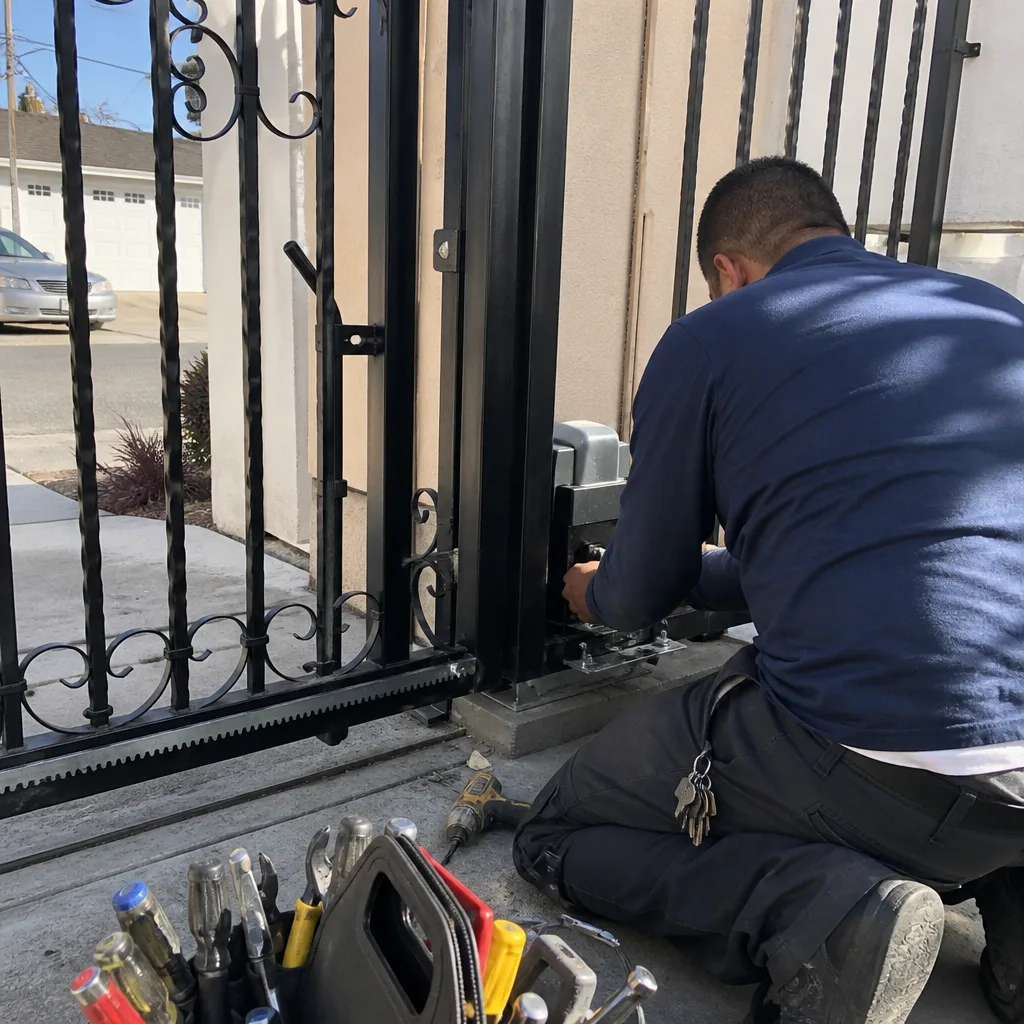 After
After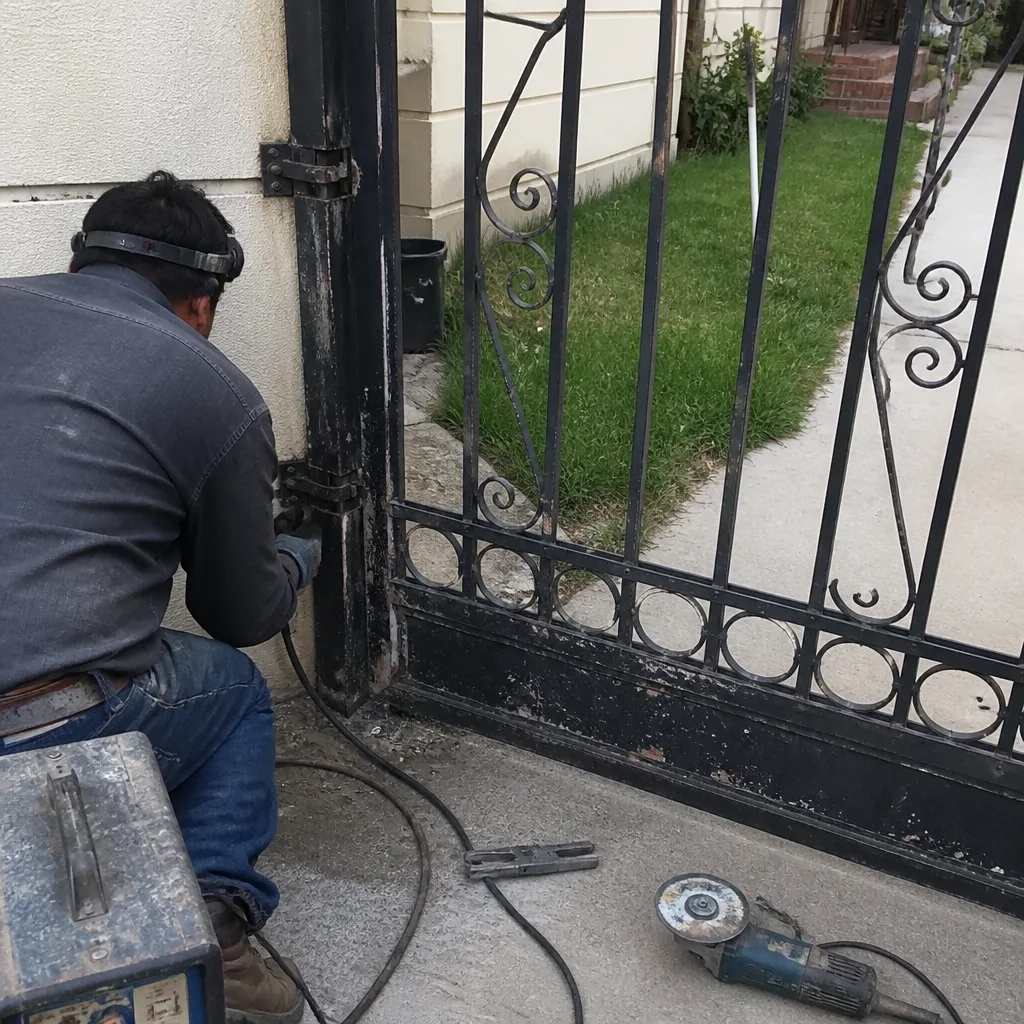 Before
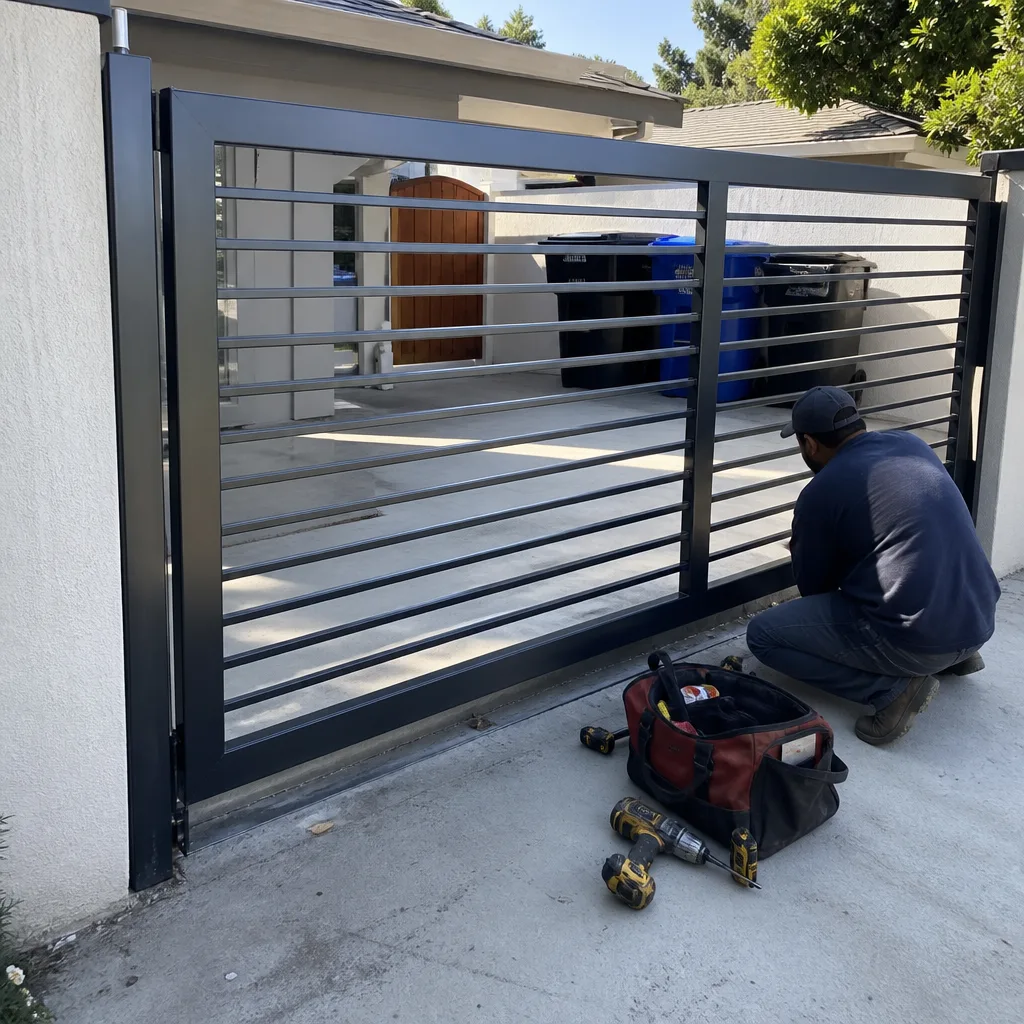 After
After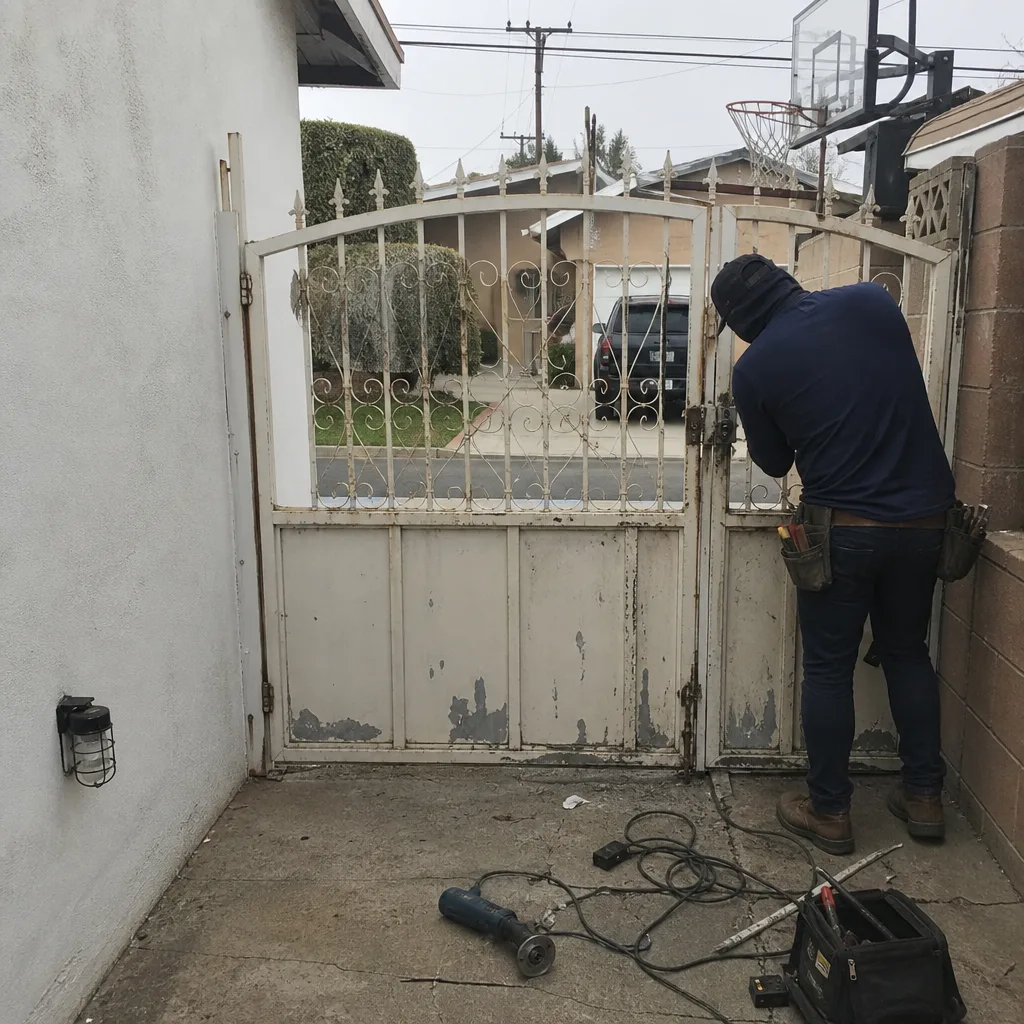 Before
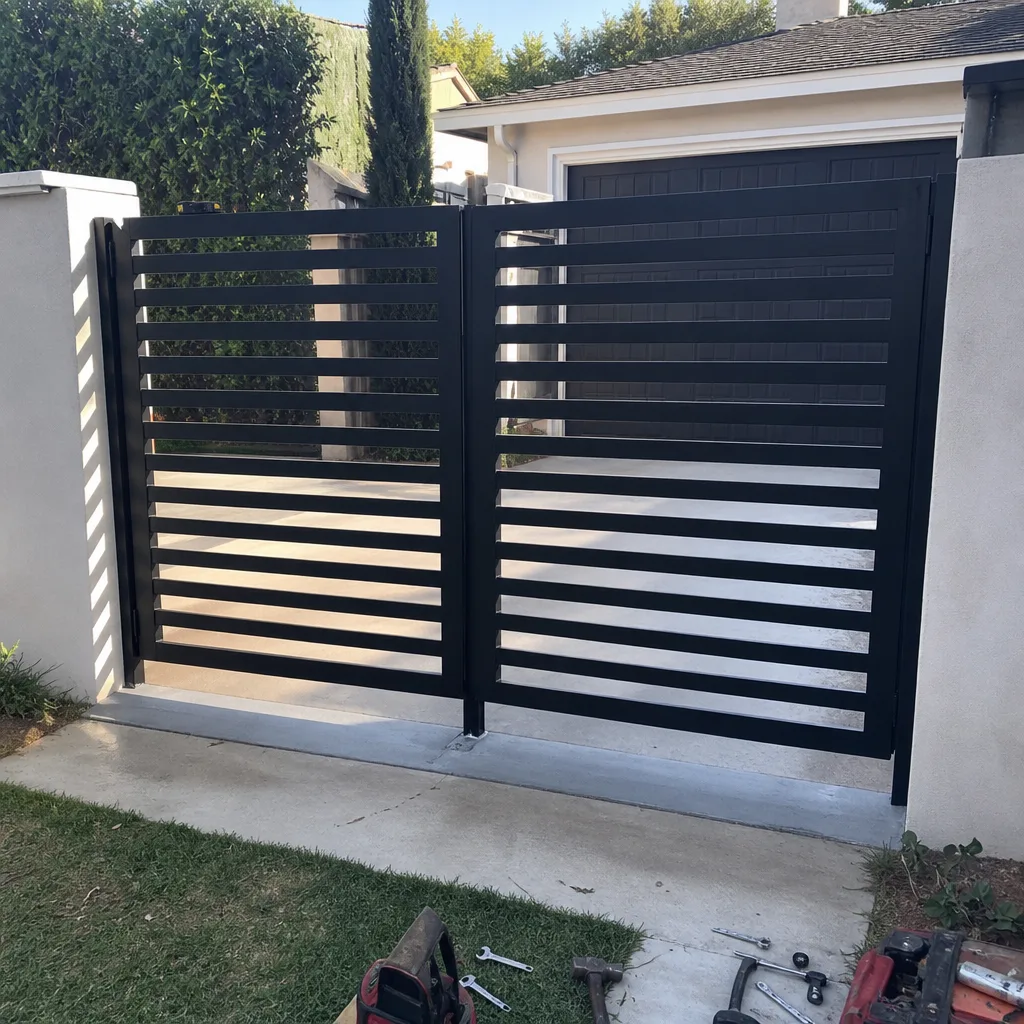 After
AfterGate Repair Warning Signs: A Inglewood Homeowner’s Reference Guide
A sliding gate that groans, a swing gate that sags, an opener that only works when it wants to. Homeowners in Inglewood put up with these annoyances for months, sometimes years, before the gate finally quits on the worst possible morning. Here is the part nobody tells you: the final failure is almost never the first sign of trouble. Gates telegraph their problems weeks in advance, and if you know what to look for, a $200 hinge job stays a $200 hinge job instead of becoming a $2,400 rebuild after the gate tears itself off the post. This guide walks you through every warning sign that matters in Inglewood, what each one means, what it costs to fix if you catch it early, and what it costs if you do not.
Quick Answer
The most common gate repair warning signs in Inglewood are grinding or squealing from the opener, a gate that moves slower than it did six months ago, visible rust at the hinge welds, sagging at the latch end, and an opener that reverses or stops mid-cycle. Any one of these means the gate needs attention within 30 days; two or more means a professional inspection is overdue today, because the cost of ignoring them compounds quickly.
Table of Contents
- Grinding, Squealing, or Rattling: What the Noise Actually Means
- A Gate That Moves Slower Than It Used To
- Rust at the Hinges and Weld Points: The Inglewood Factor
- A Sagging Gate: The Geometry Problem That Only Gets Worse
- Opener Warning Signs: Reversing, Stopping, and Running Without Moving
- Remote and Keypad Failures: Electrical Symptoms with Mechanical Causes
- Common Mistakes to Avoid
- When to Call a Professional
- Frequently Asked Questions
- The Bottom Line
Grinding, Squealing, or Rattling: What the Noise Actually Means
A healthy gate opener should sound like a low, even hum from the motor and a steady metallic roll along the track. Anything sharper than that is your gate asking for help. Grinding almost always points to the drive chain or belt losing tension, and in many Inglewood installations, it also means the track has accumulated a decade of airborne dust, pollen, and leaf debris that is now grinding against the rollers like sandpaper. Squealing is simpler: dry bearings, dry rollers, or a pulley that has not been lubricated since the second Bush administration. And rattling, the one homeowners most often ignore, usually means a loose chain, loose hardware at the operator bracket, or a track that has pulled away from its mounting bolts.
Here is the progression we see in Inglewood week after week, on gates from Hyde Park to Morningside Park. The homeowner hears the noise, figures the gate still opens and closes, and waits. The chain keeps slapping. The roller keeps wearing against the track. Six months later the noise stops, and the homeowner thinks the problem fixed itself. It did not. It stopped because the part that was making the noise turned itself into metal shavings, and now the gate will not move at all.
What to do when the noise starts:
- Stand by the gate while it runs a full open-and-close cycle. Note whether the sound is rhythmic (chain or track) or constant (motor or bearing).
- Look at the track and chain for visible sag, loose bolts, or debris buildup.
- Do not spray WD-40 on it. Household spray lubricants wash out the grease that is supposed to be in the roller bearings and leave them dry, which makes the squeal worse.
- Call for a tune-up before the noise changes pitch or stops.
Our experience is consistent: catching a grinding gate at the noise stage costs $89 for a seasonal tune-up. Catching it at the dead-silent stage costs a new motor, a new chain, and often a new set of rollers, which runs into real money. The noise is the discount.
A Gate That Moves Slower Than It Used To
Gates do not get tired. If your gate takes noticeably longer to open or close than it did a year ago, something is working harder than it should be. That something is usually the opener, and the opener is burning itself out trying to move a gate that has become harder to move.
Slow movement typically has one of four causes, listed from cheapest to most expensive:
- Track obstruction or debris. Dirt, leaves, and that fine airborne grit Inglewood gets from the 405 corridor accumulate in the track channel and add drag. A cleaning costs almost nothing.
- Worn rollers or bearings. Rollers that have lost their smooth rotation now slide instead of roll, and sliding takes dramatically more force. Replacement is affordable when caught early.
- Gate out of horizontal alignment. If the gate body sags or the track has shifted, the gate fights its own weight on every cycle. This is mechanical, not electrical, and needs realignment.
- A dying capacitor or worn motor brushes in the opener. The motor is losing power, not gaining resistance. Left unaddressed, this becomes a full opener replacement.
Test it yourself with a stopwatch. Time the gate for a full open cycle on a quiet afternoon. Write the number down. Time it again in a month. The trend matters more than the number. If it is losing a second or two per month, the gate has a progressive mechanical problem, and progressive problems in gate systems do not plateau. They accelerate.
Inglewood homeowners who catch a slow gate at the roller-replacement stage typically spend less than half of what they would spend after the opener burns out. The math is not subtle.
Rust at the Hinges and Weld Points: The Inglewood Factor
Inglewood is not a beach town, but the marine layer that rolls up from Santa Monica Bay 60 or 70 nights a year still deposits moisture on everything that lives outside. For a steel gate, that means condensation on the metal, and condensation finds the places protective paint has already been scratched, chipped, or worn away. Holes for mounting bolts, the base of hinge welds, anywhere two pieces of metal rub against each other. Those are the places rust starts, and once it starts, it feeds itself.
Rust is a structural warning sign on two different levels:
- Surface rust is cosmetic for now but inevitable in its progression. A quarter-sized rust spot at the base of a hinge plate becomes a half-dollar next year and a compromise in the metal the year after.
- Weld-point rust, where the hinge attaches to the gate frame or the post, is the one that matters immediately. This is a load-bearing joint. When rust scales off a hinge weld, you are looking at the point where the entire weight of the gate hangs, and steel does not need to look bad to be bad at that joint.
We have replaced gates in Inglewood that looked fine from the street and were structurally finished at the hinge. The paint held, the rust worked from the inside of the weld outward, and the first visible sign was a vertical crack in the paint at the hinge plate. By that point, the fix is a new hinge, possibly a re-weld, and if the post has rotted inside its footing, a new post.
Check your hinge welds once a season. Run a finger along the junction where hinge meets gate and hinge meets post. If the paint is lifting in that line, if there is any orange staining, if tapping it with a wrench produces a dull clunk instead of a clean clink, get a professional eye on it. This is not a cosmetic call.
A Sagging Gate: The Geometry Problem That Only Gets Worse
Every swing gate sags eventually. It is simple physics. The gate hangs from its hinge side, and gravity has a hundred percent advantage on the latch side. A 14-foot steel gate can weigh 400 to 600 pounds, and all of that weight wants to be on the ground. When the hinges, the post, or the gate frame start to yield, the latch end drops. You see it as a gate that scrapes the driveway, a latch that no longer lines up with its catch, or a visible tilt in the top rail.
What happens next is a compounding failure. The sagged gate puts side-load on the hinges, which were built for vertical load. The side-load wears the hinge pins oval, which lets the gate sag more. The post begins to lean, which moves the geometry further out of square, which increases the load. A quarter-inch of sag in year one becomes an inch in year three and a gate lying on the driveway in year five.
The early-warning checklist for a sagging gate:
- Open the gate to 90 degrees and look straight down the top rail. A properly hung gate shows a straight line. A sagging gate shows a curve or a kink at the hinge point.
- Close the gate and look at the gap between the latch and the catch. If the latch used to meet the catch squarely and now hits it high, low, or at an angle, the gate has moved.
- Listen for scraping at any point in the swing arc. A gate that scrapes has already sagged past the point of cosmetic issue.
- Check the hinge post. Look at the gap between the post and the concrete or masonry work at its base. A post that has begun to move will show a crack in the surrounding material.
Sagging is repairable. Hinges can be re-bushed, posts can be re-set in new concrete, and gate frames can be re-squared by a welder. The repair cost climbs with every month of neglect, and the line between repair and replacement is crossed when the gate frame itself is so distorted that re-hanging it square is impossible. Catching sag at the quarter-inch stage keeps the job small.
Opener Warning Signs: Reversing, Stopping, and Running Without Moving
The gate opener is the most misunderstood component on the driveway. Homeowners treat it as a black box: it works or it does not. In reality, the opener is a diagnostic tool, and the way it fails tells you what is wrong with the whole system.
A gate that reverses mid-cycle on its own is almost always the safety system doing its job against an obstruction that is not actually there. In Inglewood, the most common cause on older installations is a misaligned photo-eye, the little sensor pair mounted near the bottom of the gate opening. Sunlight hitting one eye at the right angle, a bird perched on the housing, or a decade of vibration loosening the bracket all create false obstruction readings. The second most common cause is a worn clutch or pressure sensor on the opener itself, which is a mechanical failure. Either way, the gate reversing is not a personality quirk. It is a signal.
A gate that stops mid-travel and stays stopped usually points to a failing capacitor, a thermal overload cutting out the motor, or friction so high the opener’s built-in amperage sensor shuts it down to protect itself. All three are fixable if addressed promptly. All three become full motor replacements if ignored.
A motor that runs, but the gate does not move is a mechanical disconnect somewhere between the motor shaft and the gate itself. Broken chain, stripped drive gear, sheared coupling. The motor is fine; the connection is not. This one surprises people because the opener sounds normal. The giveaway is the gate standing still while the motor hums.
Opener warning signs deserve respect for a simple reason: the opener is the brain of the system, and when it starts behaving erratically, it is often compensating for a problem elsewhere. Fixing the opener without fixing the underlying gate problem is the most common repeat-call scenario we see. A well-maintained gate paired with a properly sized opener, whether that is a LiftMaster, a DoorKing, an Elite, or a Mighty Mule, should run for a decade or more with nothing but routine service. The openers that die young in Inglewood are almost always the ones whose owners ignored the gate itself.
Remote and Keypad Failures: Electrical Symptoms with Mechanical Causes
The gate opener does not know the difference between a mechanical problem and an electrical one. Most of what looks like a remote or keypad failure is actually the opener refusing to operate for a reason the remote did not create.
Here is the common pattern. The homeowner presses the remote. Nothing happens. The homeowner replaces the remote batteries. Still nothing. The homeowner buys a new remote, programs it, and gets the same result. Then we arrive and find the opener’s logic board has been damaged by a failing motor drawing excessive current, or the limit switch has failed and the opener does not know where the gate is, so it refuses every command. The remote was fine the entire time.
Real remote and keypad failures do happen, and the signs are easier to read than most people think:
- Reduced range, failing only in hot weather, or intermittent function points to the receiver board inside the opener or an aging remote transmitter.
- A keypad that works with one code but not another is usually a programming or wiring issue at the keypad itself, simple to fix on site.
- Everything failing at once (remote, keypad, and the wall button) is almost never the accessories. That is the opener.
Inglewood is dense enough that radio interference is a real factor. Old-style single-frequency remotes can be triggered or blocked by nearby systems, FAA equipment near the airport approach paths, or industrial controls in the commercial districts off Century Boulevard. The fix is usually a move to rolling-code technology, which most modern openers from LiftMaster and DoorKing support natively. If you are still using a 20-year-old single-code remote, upgrading is not vanity. It is access control.
The rule of thumb: before you replace a remote or keypad, verify the opener itself responds when you press its built-in button. If the built-in button works but the remote does not, it is a remote or receiver issue. If the built-in button does nothing, the remote was never the problem.
Common Mistakes to Avoid
- Lubricating with the wrong product. WD-40, motor oil, and household grease strip the proper lubricant from gate rollers and chains, leaving them dry and wearing fast. Gate hardware needs a lithium or synthetic grease made for the purpose, applied to the right parts.
- Ignoring a noisy gate because it still works. The noise is the cheapest form of diagnosis you will ever get. A grinding chain caught early costs an adjustment; caught late it costs a chain, a sprocket, and often the motor that broke trying to pull a bound-up chain.
- Adjusting the track or hinges without experience. Gate geometry is a system. Move one point, and every other point responds. Homeowners who straighten a sagging gate by cranking on the hinge bolts usually succeed in making the post lean faster.
- Replacing the opener before fixing the gate. A new opener on a binding, dragging, or misaligned gate inherits the same problem and burns out the same way. The gate comes first.
- Waiting for the gate to fail completely before calling. The homeowners who spend the most on gate repair in Inglewood are not the ones with the worst gates. They are the ones who waited. A gate that gives warning signs but is ignored always costs more after the failure than before it.
- Treating rust as a paint problem. Surface rust is a paint issue. Weld-point rust is a structural issue. Paint will not fix a hinge that is quietly failing at its connection to the gate frame.
When to Call a Professional
Call a gate professional the moment your gate shows two of the warning signs described here in combination, or one warning sign that has been changing for more than a few weeks. A grinding opener plus a slowing gate. A sagging gate plus a post that is starting to lean. A gate that reverses randomly plus a history of false obstruction trips. These combinations point to interconnected failures that need a trained eye, not a handyman with a socket set.
Call immediately if the gate will not fully close and cannot be manually released. An unsecured gate in Inglewood is a liability, and no homeowner should spend a night, let alone a weekend, with a driveway open to the street because the gate gave up on Friday evening.
Call if the repair involves welding, gate springs, or anything that carries the weight of a moving gate. These are not weekend projects. A 400-pound gate under spring and motor tension stores enough energy to cause serious injury if it releases wrong. That is not a scare line; that is the reason the trade exists.
Ironworks Gate Co. offers free estimates in Inglewood. Call (747) 340-9707 and we will send a technician to look at your gate, explain what is wrong in plain English, and give you a written price before any work starts. No charge for the visit, no obligation, no pressure.
Frequently Asked Questions
Gate repair in Inglewood typically runs from $89 for a seasonal tune-up to $150-$400 for roller, hinge, or chain repairs, and $600-$1,800 when an opener motor needs replacement. The final number depends on what has failed and how long it has been failing; catching problems early is the single biggest factor in keeping the bill small. Call (747) 340-9707 for an exact quote, and remember that Ironworks Gate Co. offers $50 off any repair over $250.
Yes, a sagging gate can usually be re-hung, with new hinge bushings, a re-set post or a re-squared frame, as long as the gate frame itself has not been distorted by years of hanging out of alignment. The earlier the sag is caught, the lower the repair cost. A free estimate will tell you whether your specific gate is a candidate for repair or has passed the point where replacement makes more sense.
A properly installed and maintained gate opener in Inglewood should last 10 to 15 years, though many of the older DoorKing and Elite units still running on original motors are closer to 20. The openers that fail in 3 to 5 years are almost always undersized for their gate or mounted on a gate that was already dragging. Ironworks Gate Co. is factory-trained on nine major opener brands, including LiftMaster, Mighty Mule, DoorKing, and Elite, which means the correct diagnosis gets made on the first visit.
A motor that runs while the gate stands still is a mechanical disconnect: a broken drive chain, a stripped drive gear, or a sheared coupling between the motor and the gate. The motor itself is usually fine, and the repair is typically far cheaper than replacing the opener. This is one of the most misdiagnosed symptoms in the trade, and it is worth getting a second opinion before you approve a full opener replacement.
Repairing an existing gate does not require a permit in Inglewood. Replacing an entire gate, especially a sliding or swinging gate that changes the driveway configuration, may require city review depending on the scope and the property. A reputable gate company will tell you if your job is a repair or a replacement under current Inglewood rules before any work begins, and the quote should reflect the actual scope.
A live person answers the phone 24 hours a day, 7 days a week at (747) 340-9707, and most Inglewood service calls can be scheduled within a day or two for standard repairs. If the gate is stuck open or blocking the driveway, we treat it as an emergency and get a technician out as soon as one is available. Every job is quoted upfront, before any work begins, so you know the price before the first bolt is turned.
The Bottom Line
Gates in Inglewood fail on their own schedule, but they never fail without warning. The grind, the slow creep, the rust bloom at the hinge, the opener that reverses for no reason: each one is a signal that the system is asking for help before it becomes a bigger problem. Homeowners who act on those signals early keep their repair bills in the low hundreds and their gates running for decades. Homeowners who wait pay for the failure, the damage, and often a new gate, and they pay all three at once. The most expensive gate repair is the one that could have been a $89 tune-up. If your gate is talking to you, call (747) 340-9707 and let us listen.
Written by Victor Salinas, Owner at Ironworks Gate Co., serving Inglewood since 2013.