
Last updated August 25, 2026
Free on-site gate assessment - hinges, posts, and your LiftMaster or Nice gate operator checked before anything is quoted
The assessment is free and the quote is the invoice.
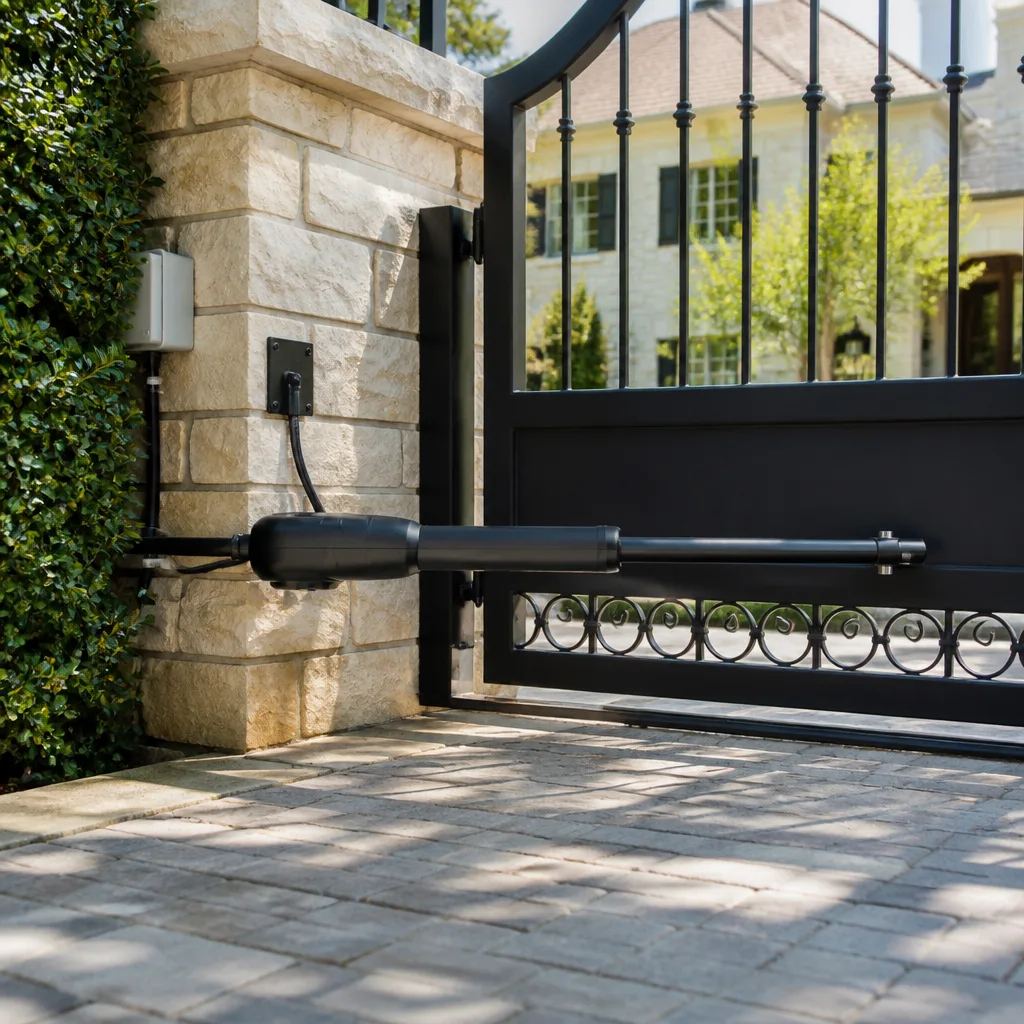
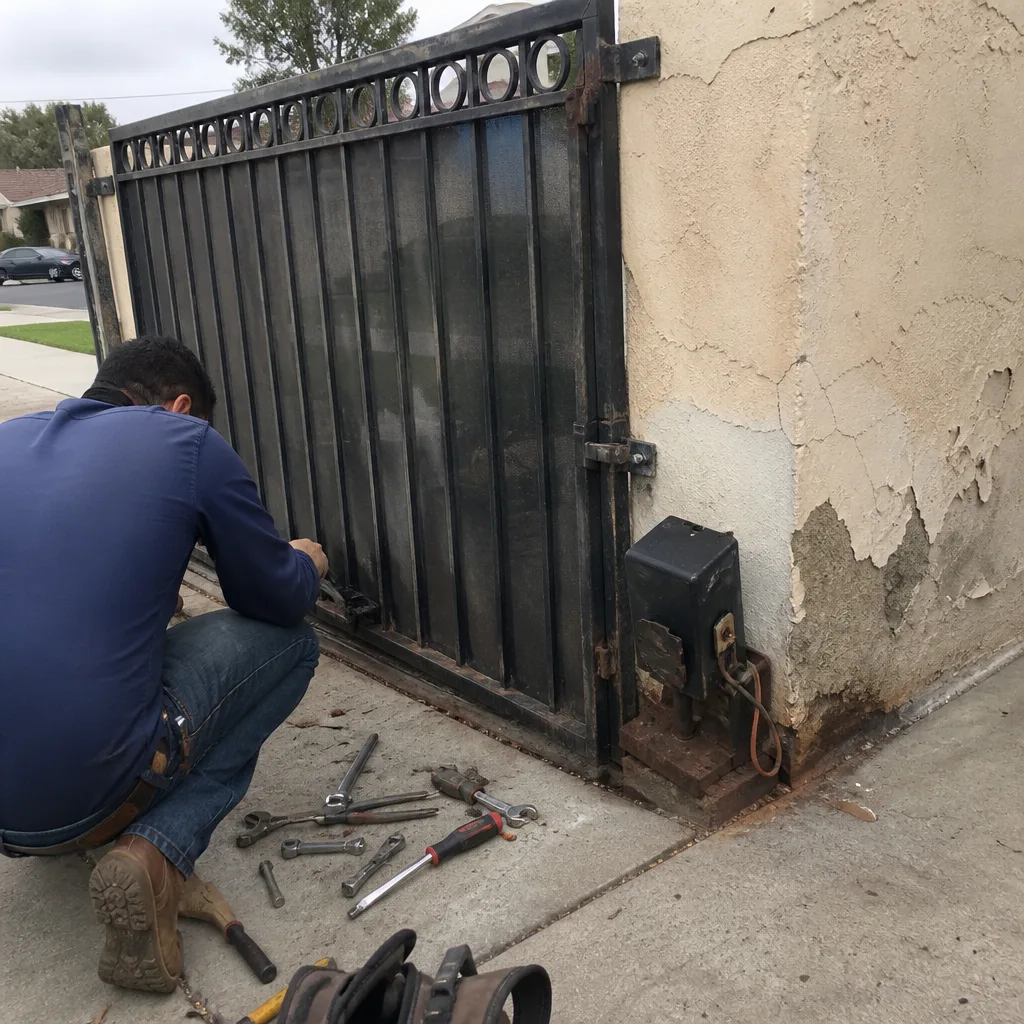 Before
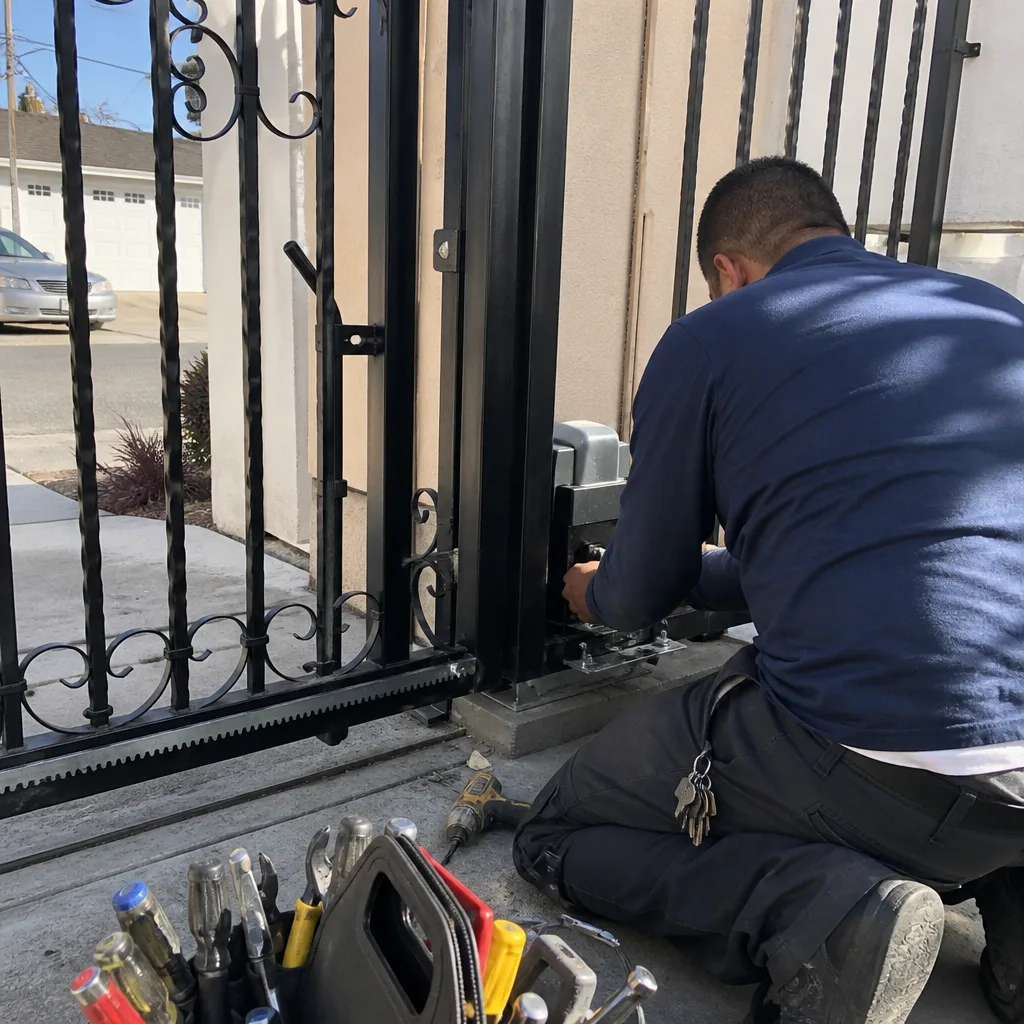 After
After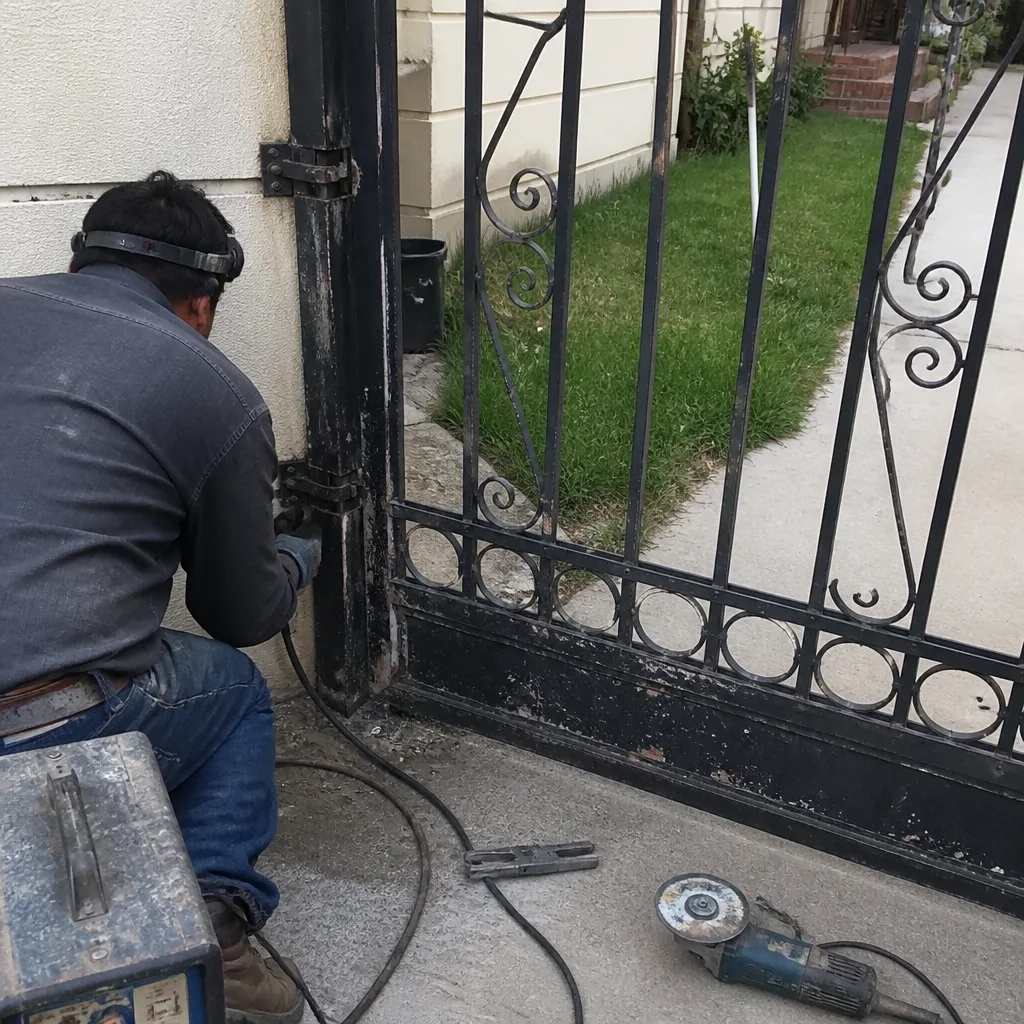 Before
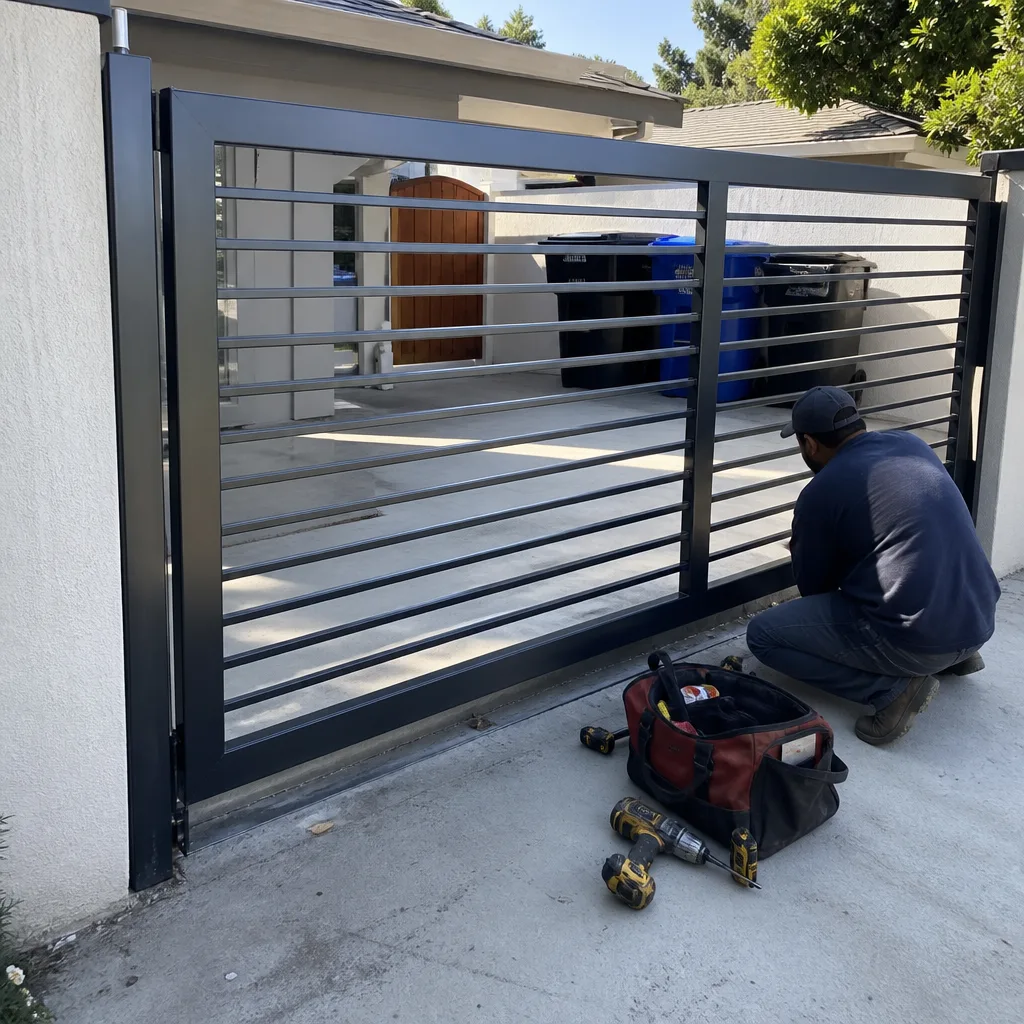 After
After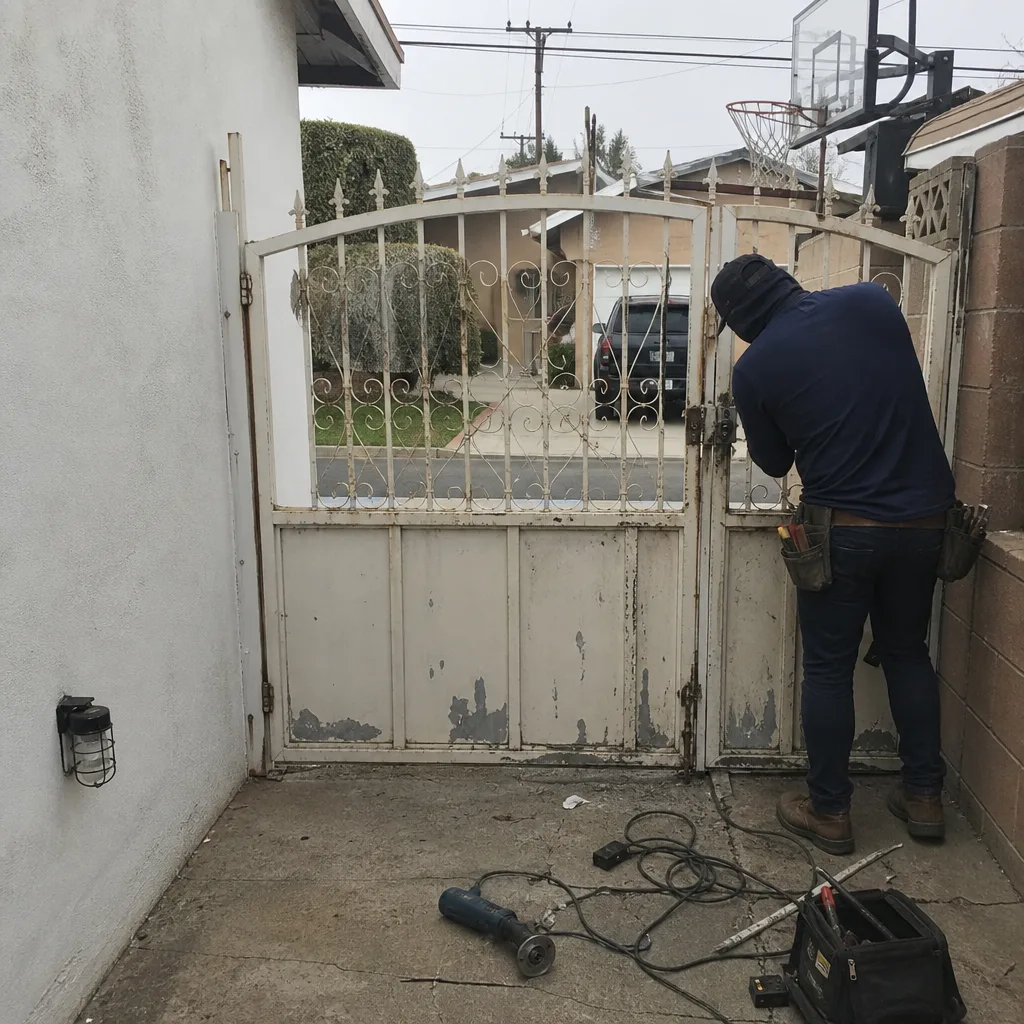 Before
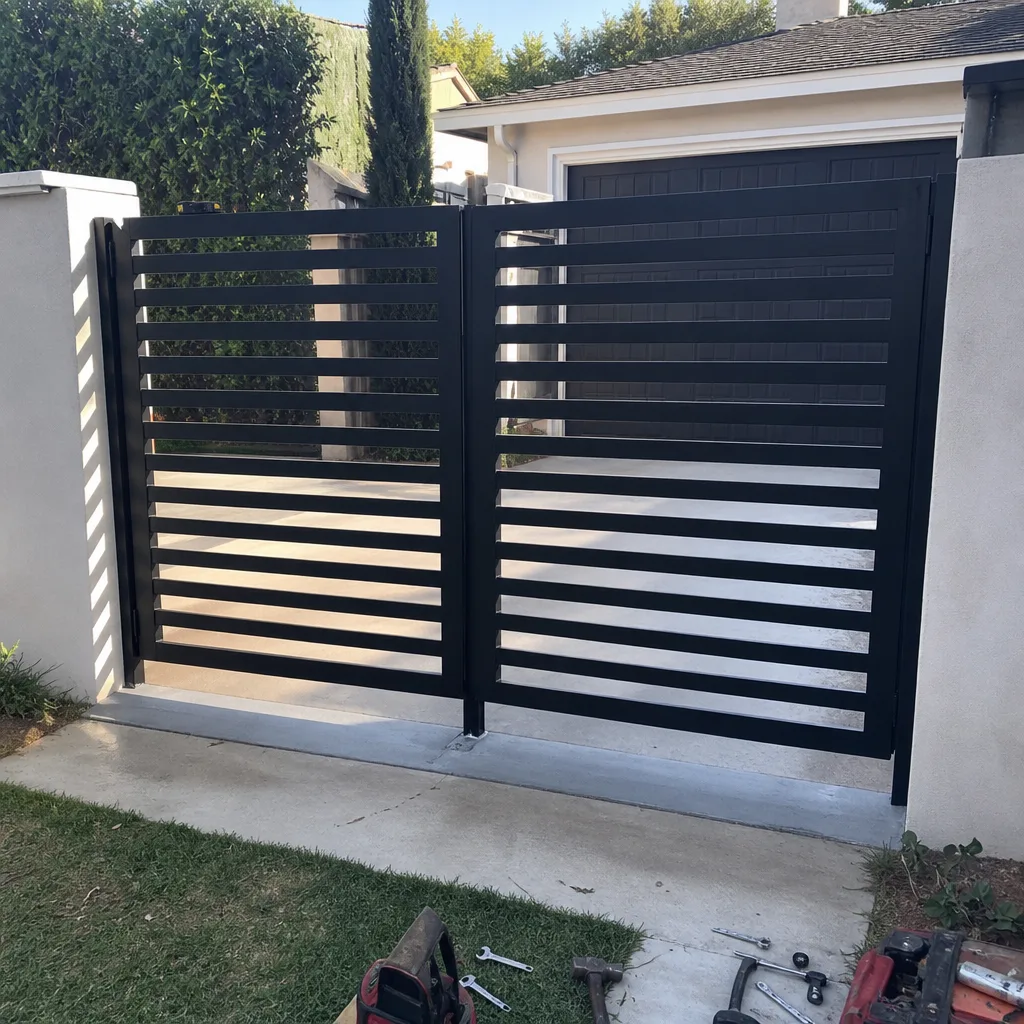 After
AfterGate Repair Maintenance Checklist for Inglewood Homeowners
Most gate failures in Inglewood don’t start with a loud bang. They start quietly: a hinge that binds for six months, a gear that grinds a little harder each week, a sensor eye that drifts out of alignment one hot afternoon. By the time the gate stops opening, the real damage was done months earlier. This guide walks you through the same maintenance routine we use on hundreds of Inglewood driveway gates every year, so you can catch those small problems before they turn into a gate that won’t budge on a Monday morning.
Quick Answer
A proper Inglewood gate maintenance routine comes down to seven tasks: tighten and lubricate hinges twice a year, clear the track and wheels monthly, check the opener’s force settings and safety sensors every season, test the battery backup before fire season, and inspect welds and powder coat for coastal wear. Most of this takes under 15 minutes once you know what to look for, and it will add years to the life of a gate that would otherwise need a $600 to $2,400 repair.
Table of Contents
- The Inglewood Seasonal Maintenance Schedule
- Hinges and Hardware: The Foundation of a Healthy Gate
- Track, Wheels, and Rollers for Sliding Gates
- Opener and Motor Care: Force Settings, Gears, and Sensors
- Battery Backup and Power: The Inglewood Fire Season Reality
- The 15-Minute Visual Inspection Every Homeowner Should Do
- Welds, Rust, and the Coastal Air Factor in Inglewood
- Common Mistakes to Avoid
- When to Call a Professional
- Frequently Asked Questions
- The Bottom Line
The Inglewood Seasonal Maintenance Schedule
Inglewood has a mild climate by most standards, but it’s not gentle on gate hardware. The marine layer that rolls in from the coast brings moisture and salt air, especially in the mornings. Summer heat followed by cool evenings causes metal to expand and contract. That cycle works bolts loose over time. We recommend a twice-a-year maintenance rhythm: once in early spring after the rainy season ends, and once in late fall before the Santa Ana winds arrive.
Here’s what that seasonal routine looks like, step by step:
- Spring (March-April): After the winter moisture clears, inspect every bolt, hinge, and bracket for rust or loosening. Grease the hinges, check the opener’s gearbox for accumulated moisture, and test the safety reverse function.
- Late Fall (October-November): Before Santa Ana season, test the battery backup, clear any debris from the track and wheels, and re-check all bolts. High winds can turn a slightly loose gate into a swinging hazard.
- Monthly (year-round): Clear leaves, dirt, and debris from the track and wheels. Wipe down the photoelectric sensors. Listen for any new grinding, squealing, or hesitation when the gate opens.
- After any wind event over 40 mph: Walk the full length of the gate and check for new play in the hinges or a track that’s shifted out of alignment. Inglewood gets enough gusty days that this one matters.
The point of this schedule is not to make gate maintenance a part-time job. It’s to catch the $30 problem before it becomes the $1,800 problem. A hinge that gets greased twice a year lasts for decades. A hinge that runs dry for three years will wallow out its bushing, and then the gate sags, and then the opener’s motor burns itself out fighting the extra resistance. We see that exact chain of events regularly in the Morningside Park and Ladera Heights neighborhoods.
Hinges and Hardware: The Foundation of a Healthy Gate
Everything about your gate depends on the hinges. If the hinges are tight and aligned, the gate moves easily and the opener does minimal work. If the hinges are loose, rusted, or worn, the gate drags, the opener strains, and the whole system ages faster. At Ironworks Gate Co., when a customer in Inglewood calls about a noisy gate, the hinge inspection is where Victor starts every time. It’s the Ironworks Gate Co. home philosophy: fix the foundation before you touch the machinery.
Here’s what to check on your hinges, twice a year:
- Bolt tightness: Use a wrench to check every hinge bolt. Temperature swings in Inglewood work bolts loose over months, not years. A hinge with even 1/8 inch of play will cause the gate to sag.
- Rust and corrosion: Look for orange staining or flaking metal around the hinge pin and mounting plate. Early rust is a cleanup job. Advanced rust means the hinge is losing structural integrity.
- Lubrication: A dry hinge makes the opener work harder. Use a lithium-based grease or a heavy silicone lubricant, not WD-40, which is a solvent and will strip what little protection is left.
- Sag angle: Stand at the end of the gate and sight down the top rail. If the free end droops noticeably below the hinge end, the gate has already started to sag. This is the earliest warning sign of hinge wear.
One thing we tell Inglewood homeowners regularly: do not wait until the gate scrapes the ground. By the time a swing gate is dragging on the concrete, the hinge wear is advanced and the opener has likely been overworked for months. A hinge replacement on a standard Inglewood driveway gate typically costs between $180 and $400 per hinge, depending on the gate’s weight and whether welding is required. That’s a fraction of what a full gate re-hang costs.
Track, Wheels, and Rollers for Sliding Gates
Sliding gates and cantilever gates have their own set of maintenance needs. If you have a gate that rolls on wheels along a track, that track is the single most neglected component we see in Inglewood. Dirt, leaves, and lawn debris accumulate in the track channel, and every time the gate rolls over that debris, it compresses it into a hard, grinding paste. That paste chews up wheels and forces the motor to work against constant resistance.
Here’s a simple monthly routine for sliding gate owners:
- Clear the track: Use a stiff brush or a screwdriver to scrape out the full length of the track channel. Pay special attention to the endpoints, where the gate parks, because that’s where debris collects most.
- Check the wheels: Look at each wheel or roller for flat spots, chips, or wobble. A wheel with a flat spot will thump on every rotation and eventually destroy the bearing.
- Inspect the track for damage: Look for bends, cracks, or spots where the track has pulled away from the concrete. Inglewood’s soil shifts seasonally, and a track that was level in January may not be level by August.
- Lubricate the wheel bearings: If your wheels have grease fittings, hit them with a grease gun twice a year. If they’re sealed bearings, skip this step and just listen for any change in sound.
A sliding gate that’s fighting a dirty track draws more current through the opener’s motor, which shortens the motor’s life. We’ve replaced openers on Inglewood sliding gates that failed years early simply because the track was never cleaned. The opener was fine. It was working against a track full of dirt. The repair was $900 when a monthly $0 cleanup would have prevented it entirely.
Opener and Motor Care: Force Settings, Gears, and Sensors
The gate opener is the most expensive component in your system, and it’s also the one most likely to give you a repair bill. A replacement opener for a residential driveway gate in Inglewood typically runs from $800 to $2,400 installed, depending on the brand and the gate’s weight. LiftMaster, DoorKing, and Elite are all common on Inglewood properties, and each has its own maintenance quirks. The good news is that basic opener care is fairly universal.
Here’s what to check quarterly:
- Force settings: The opener’s force setting controls how hard the motor pushes or pulls. It should be set just high enough to move the gate smoothly without straining. If it’s set too high, the gate will push through obstacles instead of stopping, which is a safety issue. If it’s set too low, the gate will stop mid-travel or reverse for no reason.
- Safety sensors: The photoelectric sensors near the base of the gate should be aligned and clean. Dust, spider webs, or a slight bump can knock them out of alignment, and the gate will refuse to close. Wipe the lenses with a dry cloth every month.
- Limit switches: The limit switches tell the opener where the gate should stop in the open and closed positions. If your gate slams into the end stop or stops three inches short, the limit switches need attention.
- Gear and chain wear: For chain-driven openers, check the chain tension. A loose chain slaps and wears the sprocket. For gear-driven units, listen for grinding or clicking. A worn gear is a $150 to $350 fix if caught early, and a full opener replacement if ignored.
One note on safety: if you have a gate opener with high-tension springs or a heavy counterweight system, do not attempt to adjust or remove those components yourself. The stored energy in a wound gate spring can cause serious injury. That’s a job for a trained professional, full stop. We say this because we’ve seen the results of well-meaning DIY spring adjustments, and they’re not worth the risk.
Battery Backup and Power: The Inglewood Fire Season Reality
Inglewood sits in a region where power shutoffs during high-wind and fire-risk days are a real thing. When the power goes out, your automatic gate becomes a manual gate, unless you have a working battery backup. The problem is that most homeowners never test the battery until the day they actually need it, and by then it’s dead.
Here’s the straightforward way to stay ahead of that:
- Test the battery quarterly: Unplug the opener from the wall or flip the dedicated breaker, then try to open the gate using the remote. If the gate opens and closes smoothly on battery power, the battery is healthy.
- Know the battery’s age: Most gate opener backup batteries last 2 to 4 years. If yours is older than that and has never been replaced, plan for it.
- Listen for beeping: Many modern openers beep or flash a diagnostic light when the battery is failing. Don’t ignore it.
- Keep the manual release accessible: Every opener has a manual release mechanism, usually a keyed cylinder or a pull cord. Make sure you know where it is and that the key is somewhere you’ll actually find it in a power outage.
A replacement battery for a residential gate opener in Inglewood typically costs between $120 and $350 installed, and it’s a job that usually happens in a single visit. It’s one of the cheapest insurance policies you can buy for a gate, and it means you won’t be trapped in your driveway the next time the power company shuts off the grid during a wind event.
The 15-Minute Visual Inspection Every Homeowner Should Do
You don’t need to be a gate technician to spot most problems early. You just need to know what a healthy gate looks like and pay attention when it starts to look different. This 15-minute walk-around is something we recommend doing every two months, and it catches about 80% of the issues that lead to major repairs.
Here’s the walk-around, in order:
- Stand back and look at the gate as a whole. Is it level? Does it hang square in the frame? A gate that’s starting to sag will show a visible tilt.
- Open and close the gate by hand (with the opener disengaged if needed). Does it move smoothly, or does it bind, scrape, or wobble?
- Watch the gate operate under power. Does it accelerate smoothly? Does it slow down before reaching the end stops, or does it slam? Smooth operation is the sign of a properly adjusted opener.
- Listen. Grinding, clicking, squealing, or a new hum are all early warning signs. A healthy gate is quiet.
- Look at the ground where the gate travels. Fresh scrape marks, uneven wear patterns, or loose concrete indicate a gate that’s dragging.
- Check the control box. If the box is faded, cracked, or has moisture inside the cover, that’s a future electrical problem. Inglewood’s marine layer means condensation inside control boxes is common.
- Test the safety reverse. Place a small object (a roll of tape works) in the gate’s path and close the gate. It should reverse within a second of contact. If it doesn’t, you have a safety issue that needs professional attention immediately.
This inspection takes 15 minutes and costs nothing. The alternative is discovering a gate problem when you’re late for work or, worse, when the gate has already damaged itself or the opener. We’d rather see Inglewood homeowners catch these things early than meet them for the first time when they call us for an emergency repair.
Welds, Rust, and the Coastal Air Factor in Inglewood
Inglewood is about 5 miles from the ocean, and that distance means the air carries more salt and moisture than inland areas. It’s not as corrosive as living right on the beach, but it’s enough to accelerate rust on unprotected metal. Any gate with exposed steel, especially at the welds, will eventually show rust if the protective coating is compromised. The welds are always the first place to go because the welding process burns off the factory coating and the area is rarely re-coated properly.
Here’s what to look for:
- Rust at the weld joints: Orange or brown staining where two pieces of metal meet. This is the most common rust point on any gate.
- Powder coat bubbling or peeling: If the finish is lifting away from the metal, moisture is getting underneath. The gate needs to be stripped, treated, and re-coated.
- Pitting on bare metal: Small, deep rust spots that go below the surface. Pitting weakens the metal over time and is a structural concern, not just cosmetic.
- White oxidation on aluminum: Aluminum doesn’t rust red, but it does corrode. White, chalky patches are the aluminum equivalent of rust.
If you catch surface rust early, a wire brush, a rust converter, and a quality enamel touch-up will often handle it. That’s a Saturday afternoon project and maybe $40 in materials. If the rust has advanced to the point where metal is flaking or the gate feels spongy, you’re looking at professional rust repair, which typically involves cutting out the bad section and welding in new steel. That’s the kind of work we do regularly at Ironworks Gate Co., and it’s usually between $300 and $900 depending on the extent of the damage. The key is catching it before the rust eats through the structural elements of the gate.
Common Mistakes to Avoid
- Lubricating with WD-40. WD-40 is a solvent, not a lubricant. It cleans and displaces moisture, but it doesn’t provide lasting lubrication. Use a lithium grease or silicone spray on hinges and rollers.
- Ignoring a noisy gate. Gates don’t make noise for no reason. A squeal, grind, or click is a mechanical symptom. The longer you ignore it, the more expensive the fix becomes. We’ve seen $50 hinge greasing jobs turn into $1,500 opener replacements.
- Using the gate to hold back kids or pets without testing the safety reverse. The safety reverse is a critical feature. If it’s not working, the gate is a hazard. Test it monthly with a soft object.
- Painting over rust without treating it first. Rust is an electrochemical process. Painting over it doesn’t stop it; it just hides it. You have to remove the rust or convert it before you paint.
- Overtightening hinge bolts. Bolts that are too tight can bind the hinge or strip the threads. Snug is the target, not maximum torque.
- Waiting until the gate fails to do anything. Reactive maintenance is the most expensive maintenance. A $89 seasonal tune-up catches dozens of small issues before any of them become big ones.
- Hiring a generalist handyman for gate opener work. Gate openers involve electrical work, mechanical adjustment, and safety systems. A handyman who fixes a gate opener one week and a garbage disposal the next doesn’t have the depth of experience to diagnose intermittent gate problems. We get called in regularly to fix opener work that a handyman attempted first, and the bill is always higher than it would have been to call a gate specialist in the first place.
When to Call a Professional
Some gate work is genuinely doable for a handy homeowner. Cleaning the track, wiping sensors, checking for rust, and testing the safety reverse are all fair game. But there’s a line where DIY becomes dangerous or counterproductive. If you see cracks in welds, if the gate has sagged more than a half-inch, if the opener’s motor is running but the gate isn’t moving smoothly, or if you smell any burning odor from the control box, stop and make the call. High-tension springs, heavy gate panels, and live electrical components are not things to learn on the fly.
Ironworks Gate Co. offers free estimates in Inglewood, and a live person answers the phone 24 hours a day, 7 days a week. Call (747) 340-9707 if you’re not sure whether something is a problem. The estimate is free, and we’ll tell you straight whether it’s something you can handle yourself or something that needs a professional’s hands.
Frequently Asked Questions
Gate repair in Inglewood typically costs between $150 and $900 for most common issues. Hinge replacements run $180 to $400 per hinge, opener gear replacements are $150 to $350, battery replacements are $120 to $350, and a full opener replacement is $800 to $2,400 installed. The exact price depends on your gate’s weight, the opener brand, and whether any welding is required. Call (747) 340-9707 for an exact quote, and remember that Ironworks Gate Co. settles the price before any work begins, so there are no surprises on the bill.
We recommend a professional tune-up once a year, even if nothing seems wrong. Inglewood’s climate, with its marine layer and seasonal temperature swings, works on gate hardware year-round. A $89 seasonal tune-up catches loose bolts, early rust, sensor drift, and opener wear before any of them become failures. Homeowners who get a yearly tune-up typically see their gates last 5 to 10 years longer than those who don’t.
If you hear the opener running but the gate doesn’t move, the most common cause is a worn gear, a broken chain, or a disconnected drive mechanism. On LiftMaster and DoorKing openers, the plastic drive gear inside the opener is a known wear item, and it strips after years of use. This is a $150 to $350 repair on most models. It’s not a job we recommend attempting yourself, since the opener has to be disassembled and realigned, and the force settings need to be recalibrated afterward.
Yes, for most repair issues we can dispatch a technician to Inglewood the same day, and in many cases the repair is completed in a single visit. A live person answers the phone 24 hours a day, 7 days a week, so you’ll never be routed through a voicemail tree. Call (747) 340-9707 and we’ll schedule a time, confirm the visit, and show up when we say we will.
A properly maintained residential gate opener in Inglewood typically lasts 10 to 15 years. The coastal air and the duty cycle both matter. A gate that opens and closes 20 times a day will wear out an opener faster than one that cycles 6 times a day. Regular force-setting checks, gear lubrication, and keeping the track clean will push your opener toward the upper end of that range, or beyond it.
We service nine major gate automation brands, including LiftMaster, DoorKing, Elite, and Mighty Mule, which are the brands we see most often on Inglewood properties. That means the correct fix gets made on the first visit, whatever is on your driveway. If you have a different brand, call (747) 340-9707 and describe what you have; odds are good we’ve worked on it before.
The Bottom Line
A well-maintained gate in Inglewood will outlast its owner’s mortgage. The gate is a simple machine: hinges, wheels, a motor, and a control system. If you keep the hinges greased, the track clean, the sensors aligned, and the battery fresh, the whole system will run for decades with only minor attention. Ignore the little things and you’ll be replacing the expensive things. This checklist gives you the routine. The rest is just doing it. And if you ever hit something you’re not sure about, or you’d rather have a professional handle the whole maintenance schedule, call (747) 340-9707 for a free estimate. We’ll be there when we say we will, and we’ll stand behind the work in writing.
Written by Victor Salinas, Owner at Ironworks Gate Co., serving Inglewood since 2013.